









Microgreens on the windowsill: growing & varieties


Why do microgreens grow on the windowsill for days, while sprouts end up in a salad after just a week? The answer lies in the growth stage: sprouts are young seedlings, microgreens have already developed proper leaves. This difference determines how you grow them, what you eat and how they taste.
Anyone who has grown both side by side quickly notices: microgreens are more than small sprouts with a coat of green paint. They grow for longer, need light and slightly different care. Here you'll find out what sets microgreens apart from sprouts, how to grow them without any soil in a cress sieve and which varieties are good for getting started.
At a glance
- Sprouts are young seedlings grown without a growing medium, microgreens have already formed leaves and grow for longer
- Microgreens take 8 to 20 days until harvest, sprouts usually around a week
- Cress, chia, rocket and mustard do especially well in the cress sieve, but so do broccoli, radish and alfalfa
- Nightshades such as tomatoes are unsuitable, and seedlings of legumes should be heated before eating
What is the difference between sprouts and microgreens?
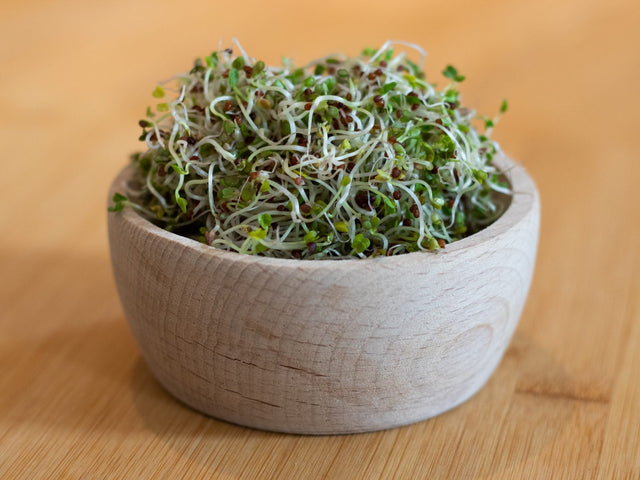
Sprouts are the young shoots of vegetable or grain seeds and are also called seedlings. Microgreens go one step further: they form leaf green (chlorophyll) and are small plants, usually with two to three leaves. This biological difference explains why the two are grown and harvested so differently.
Growth stages: from seedling to sprout to microgreen
A seedling forms as soon as the seed swells and the first root and shoot become visible. Once the seedling develops its first seed leaves, it is called a sprout. If the plant keeps growing and also forms true leaves, it becomes a microgreen. So these are not different plant species, but successive stages of development of the same seeds.
Why microgreens take longer than sprouts
Depending on the variety, microgreens grow for about 8 to 20 days until they are ready to harvest, whereas sprouts are usually ready after a little over a week. The reason lies in what each is grown for: sprouts are harvested as soon as the seedling is edible, microgreens only once enough leaf mass has formed.
What ends up on your plate: the whole seedling or just the leaves?
With sprouts, the entire seedling is edible, including the root. With microgreens, on the other hand, only the stems and leaves are cut off above the root with clean scissors or a clean knife. Because they form chlorophyll, microgreens are much greener than sprouts. The AOK magazine describes their flavour as very intense and peppery, and the aroma is quickly lost when they are heated. The basic principle is explained in more detail in the NDR guide to sprouts and microgreens (in German).
| Feature | Sprouts | Microgreens |
|---|---|---|
| Growing time | approx. 3 to 8 days | approx. 8 to 20 days |
| Growing medium | usually without soil, on kitchen paper or in a jar | traditionally in soil, in the cress sieve with water only |
| What is harvested | the whole seedling | only stems and leaves |
| Flavour | mild to spicy, depending on the variety | very intense, often peppery |
Are microgreens safer than sprouts?
Microgreens don't grow permanently in a moist environment like sprouts do. They are still not germ-free, though: like other raw leafy greens, they can be contaminated with pathogens such as salmonella or listeria. Eat packaged products from the supermarket promptly and wash them thoroughly before eating, as during storage germs can otherwise penetrate the inside of the plant cells, where washing is less effective.
Important
People with weakened immune systems, young children, pregnant women and older people should avoid raw leafy greens and raw sprouts or heat them before eating. Find out more in the guide Which sprouts should you not eat raw?
Which varieties are suitable for sprouts and microgreens?
Seeds of cress, broccoli, carrots, mung beans and alfalfa, for example, are suitable for growing. These varieties germinate reliably, are easy to look after and offer a range of flavours from mild to hot and spicy.
Easy-care classics for beginners
Radish, daikon radish and brassicas such as broccoli, kale and kohlrabi are particularly beginner-friendly. The guide Growing broccoli sprouts at home shows how to grow broccoli in a jar. Cress germinates very quickly, without any soaking, and is easy to grow on cotton wool or kitchen paper. Flavours range from pleasantly hot and spicy cress to lemony coriander and mild, nutty sunflower microgreens. Some varieties change over time: fenugreek sprouts become more bitter, while daikon radish gets increasingly hot.
What you need: suitable seeds
- For the cress sieve: cress, chia, rocket and mustard (mucilaginous, no soaking needed)
- Also in the cress sieve: broccoli, radish and alfalfa
- For the sprouting jar: mung beans, lentils, alfalfa and radish
These seeds are unsuitable or need heating
Seeds of nightshades such as tomatoes, peppers, chillies and aubergines are unsuitable, as the seedlings contain a high concentration of the natural toxin solanine. You also shouldn't eat legumes such as soya beans, garden beans and chickpeas raw as sprouts or microgreens, as they contain hard-to-digest proteins called lectins, which can cause poisoning. Pea, bean and lentil seedlings can be made safe by blanching them for at least two minutes before eating or briefly cooking them along with the dish.
Tip
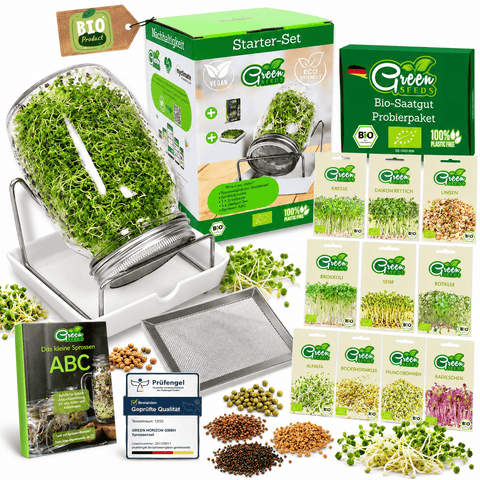
For growing, use untreated seeds from a specialist retailer that have been produced specifically for sprouts or microgreens. You'll find suitable organic sprouting seeds in various varieties, and for the cress sieve also as a starter set with cress, rocket and chia.
How do you grow without soil in a cress sieve?
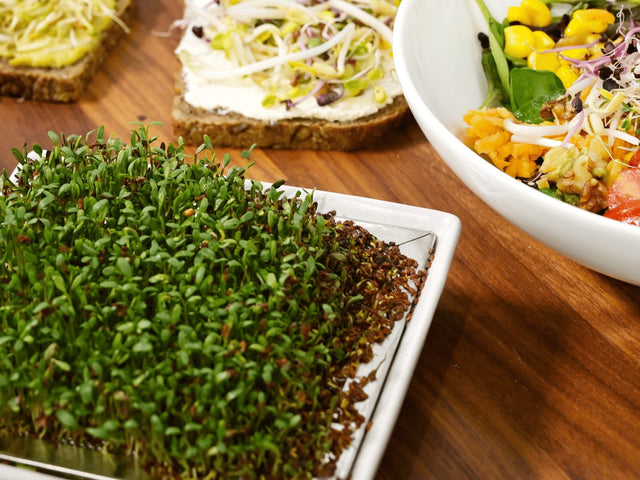
With the GreenSeeds cress sieve, you need neither soil nor cotton wool. The seeds lie directly on the stainless steel sieve, with water underneath in the ceramic tray, and the roots grow through the sieve towards the water. This works especially well with mucilaginous seeds such as cress, chia, rocket and mustard: with water, they form a gel layer and stay flat on the sieve.
-
Prepare the sieve and tray
Clean the ceramic tray and stainless steel sieve before first use, then place the sieve on the tray. -
Add water
Fill the tray with water to just below the sieve. You don't need to soak cress, chia, rocket and mustard beforehand. -
Spread the seeds
Spread the seeds evenly and not too densely on the sieve and moisten them gently. -
Keep moist, put somewhere bright
Keep the seeds moist during germination, but avoid waterlogging. A bright spot out of direct sunlight at 18 to 22 °C is ideal. -
Harvest with scissors
Cress is ready to harvest after a few days. Leave microgreens to grow for longer until the first green leaves have formed, then cut them off above the sieve.
Sprouting jar, sprouting box or soil: three methods compared
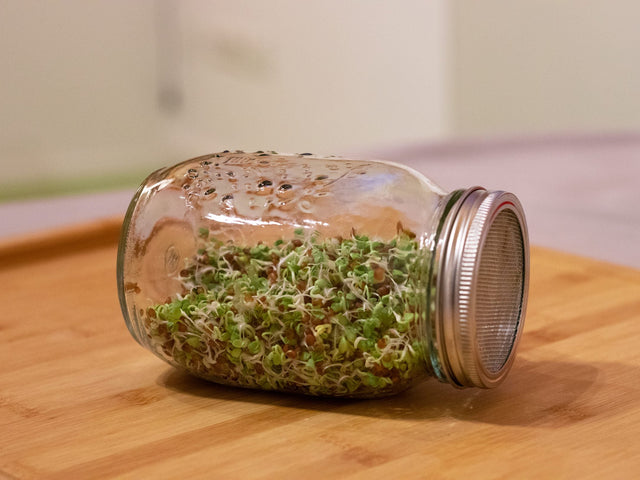
For sprouts in a jar, the seeds are soaked for about eight hours to kick-start germination, then rinsed through with fresh water twice a day, ideally morning and evening. Sprouting boxes usually consist of several stacked trays: water is poured in at the top and excess water is collected at the bottom, which saves on rinsing. Microgreens, by contrast, are traditionally sown on soil or another growing medium. Seeds that germinate in the dark need to be covered with a thin layer of soil, seeds that need light to germinate do not. Cling film over the container keeps the climate even and should be removed briefly every day to let air in.
| Pros of growing without soil | Pros of growing in soil |
|---|---|
| Less effort, no growing medium needed | Useful for microgreens you want to grow for longer |
| Good for fast-germinating varieties such as cress | A wider choice of varieties |
| Jar, sieve and tray are quick to clean |

Cress in the cress sieve: no soil and no cotton wool, just water
Organic sprouting seeds: cress, rocket, chia
What mistakes happen when growing microgreens?
Typical problems are caused by too much moisture, the wrong light or a missed soaking time. With a little observation, these pitfalls are quick to spot and fix.
Mould instead of seedlings
Seeds that are too wet and don't get enough ventilation encourage mould. The seeds should be moist but never soaked through, and jars or sieves need a regular exchange of air.
Pale, leggy shoots
If seeds that need light to germinate are covered for too long, or the container is too dark, the shoots stay pale and grow thin and tall. After the first few days under cover, remove the film so the microgreens turn green and form chlorophyll.
No germination
If hard seeds haven't been soaked long enough or the temperature is too low, germination is noticeably delayed. A spot at 18 to 22 °C and the right soaking time for each variety usually solve the problem reliably.
Conclusion
Sprouts and microgreens differ mainly in their growth stage: sprouts are young seedlings that are eaten whole, while microgreens have already formed leaves and only the top part is harvested. Cress, broccoli, radish and other brassicas are especially good for beginners. Nightshades are unsuitable, and seedlings of legumes are heated before eating. With the right cress sieve or a sprouting jar, you can easily try both at home.
Frequently asked questions about microgreens
What is the difference between sprouts and microgreens?
Sprouts are young seedlings that are usually grown without a growing medium and eaten whole after a few days, including the root. Microgreens grow for longer, form chlorophyll and usually two to three leaves, and only the top part is cut off, so the stems and leaves end up on your plate.
Can you grow microgreens without soil?
Yes. Microgreens are traditionally sown in soil, but in the cress sieve, cress, chia, rocket and mustard grow without any soil or cotton wool: the seeds lie on the stainless steel sieve with water underneath.
Which microgreens are good for beginners?
Radish, daikon radish and brassicas such as broccoli, kale and kohlrabi are easy to look after. Cress also germinates reliably and quickly, without any soaking.
How long does it take for microgreens to be ready to harvest?
Depending on the variety, microgreens grow for about 8 to 20 days before they are harvested. Some varieties are ready after just a week, others need two to three weeks.
Are microgreens safer than sprouts?
Microgreens don't grow permanently in a moist environment like sprouts do and are therefore considered slightly less prone to germ contamination. However, contamination with salmonella or listeria cannot be ruled out completely, so washing them thoroughly before eating remains important.
Sources


